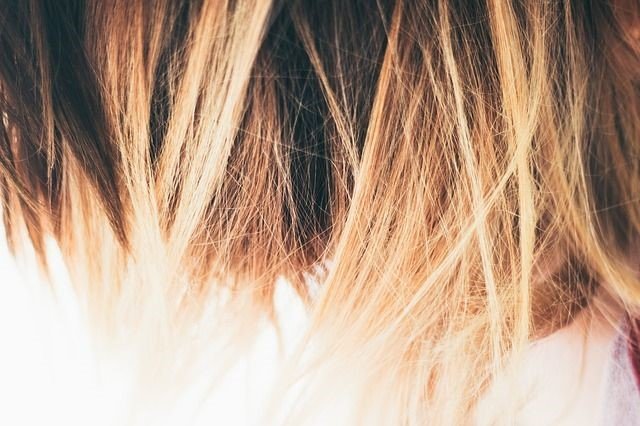
When you want to change your look quickly and without expensive beauty treatments on your hair, you choose to do at home the same as in a hairdresser or a professional would do, no matter how much you get the wave of natural homemade, so do you want to know how to make wicks at home?
It is an easy technique for those who want to work from home and make their look something better or simply change the color without dyeing everything completely as an option that they have without bequeathing to be slaves of hair dye month after month.
Also the wicks become a silent weapon of the annoying gray hair that comes to be the headache of many women in the autumn age, but that should not stop the arrangement of the physical appearance and especially that of the hair at any age and of course done personally.
Of course, it is a way to save a few euros also be well and feel beautiful, with a little face made by yourself and of course they look good so that the hair looks beautiful, manageable and does not fall out when combing it.
What do you need to make wicks at home?
- Professional brush.
- Aluminum foil.
- Comb mouse tail.
- Pincers.
- Cap.
- Water for dyes of 30 or 40 or volume depending on the tone you want.
- Bleaching powders.
- Dye.
- Gloves.
Instructions for making wicks at home
First of all we remind you to go to a professional and ask any questions, or if you want to put yourself in their hands so that the arrangement of strands in your hair is perfect also if you have a knowledge of this matter, then let’s get to work.
The first thing is to think about the tincture also look for the color to dye you that goes with your skin color, that is not very striking or garish, and if what you want is to hide the gray hair the champagne-colored wicks are ideal for this, so we leave it to your discretion.
This is how the wicks are made step by step
There are many options you have to make wicks, so first choose the type you want to do so go and with the way to collect your hair so you can work well from home so that the hair is not damaged either.
Among the options you have to dye your hair you can choose between:
Balayage or the ones you like the most.
Materials:
- Container.
- Comb.
- Bleaching powder.
- Pincers.
- Brush to distribute the bleaching.
Steps to follow:
- We remind you that after the dye use ampoules so that your hair remains soft, manageable and without fall problems or looks dry and battered after bleaching.
- Prepare the bleaching powder with the water of 30 volumes to be placed in the hair, in opportunity that it is without lumps and can be placed without problems in the hair.
- Separate the hair into parts with tweezers and place the preparation covering the part with this mixture with plastic bags aluminum foil, remember that they should be sections of all the hair.
- After this wash the hair and place the dye of your preference and leave it on for 10 minutes and then remove it with a normal wash of your hair and dry as you want to your style.
With hat
Materials:
- Comb.
- Paintbrush.
- Knitting needle.
- Cap for wicks.
- Silver tincture.
Steps to do it:
- This is a way to add more wicks to the style you prefer, for this reason it is a way to choose to make many more strands without touching your natural hair tone.
- Also with the hat you have the solution of covering the gray hair in a disguised way since they will be confused between the wicks and you will see your hair with more life, shine and beauty.
- Comb the hair well so that it is smooth and, once your hair is without tangling and smooth, place a hat.
- The cap are mochas presents a series of holes where you will take out the hair or the strands that you are going to bleach; you choose the amount of hair you want to bleach.
- Then and when you have the amount of strands ready to discolor, mix the powder and water for dyes and make the preparation that you will put on the strands that you have taken out above the cap.
- Let it act as long as you need or that you see that your hair is already bleached and proceed to wash the hair well without removing the hat so that it does not stain the hair.
- Place a tincture of the color you want to tone the wicks and so you do not have problems to hide the gray hair or cover them with this discoloration so you will see that it works and you will feel beautiful.
- These two ways of making wicks are the simplest and most useful when it comes to making them at home by yourself, for this reason you must learn the tone that suits you well and does not look too exaggerated when it comes to making the wicks.
- The main thing is to change your look without looking too exaggerated or that you do not fit well what you do to change your appearance a little that the main thing is that, go well, cover the gray hair and feel beautiful with the change that is often difficult.
- Hydrogen peroxide is the main element to use together with the bleaching powder since they are the two main elements that will change the tone of the hair without problems, taking into consideration that you want a different look, but without making mistakes.
- Using bleaching powders and hydrogen peroxide depending on the volume you choose, is a way to provide the perfect mix to bleach hair strands; in these two products is the secret that the wicks come to fit well.
- If you wish, also the use of aluminum foil gives you the option to get perfect wicks without using the bags, although it is a little more expensive for you; depending on what you want to do, you already have those two options.
- With the wicks you can get a change of appearance without being very daring, and go testing how you look with other colors, in addition to creating games of color and luminosity in your hair. If you have some gray hair, the wicks are ideal to cover them if you still do not want to take the step of changing all your hair with a dye.
- Also nuance your gray hair is also an option with any form of wicks you want to make, so you will improve your appearance by 100% and self-esteem will rise a lot therefore we recommend you make some wicks to look better with a more beautiful hair.
Tips for making wicks at home
- Choose the color that goes well with your personality and not on the advice of other people.
- Wash all the utensils you use well when you finish making the wicks at home.
- After the whole procedure, proceed to dry your hair as you always do.
- Do not forget to hydrate your hair so that it is healthy and nourished.


