We would all like to be able to wear spectacular hair anywhere, however, many times it happens to us that due to our hair type or the treatment we give to it, it is difficult to make some hairstyles, especially when they require to be made with the help of chemicals, dyes, dyes and heat. But you don’t need to put hundreds of products in your hair or subject your hair to high temperatures to be able to look spectacular, that’s why I want to teach you how to make braids on the side.
One of the most pleasant things about hair and creativity is that you can do hairstyles in many ways by braiding our hair. From a simple braid to beautiful styles in our hair, they can be performed when we know how to braid hair in various ways. But not all of us know how to perform this type of hairstyle, so it is necessary that we take into account what the instructions and the basic theory are to be able to perform them.
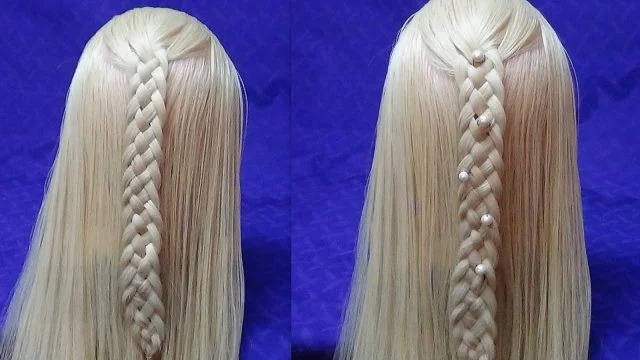
Currently it is very fashionable and it has become an increasing trend to use braids in our hair. From several braids stuck to the scalp in the purest African style, several loose braids that give the appearance of a beautiful curtain of chains, to spectacular wedding hairstyles and ceremonies that do not stop leaving us shocked, are many of the things we can do when we know how to braid our hair.
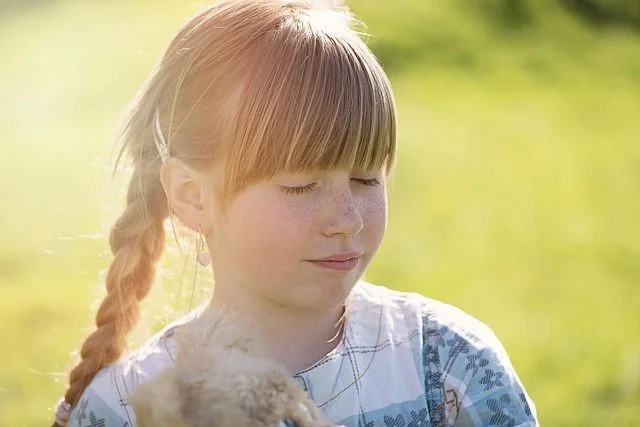
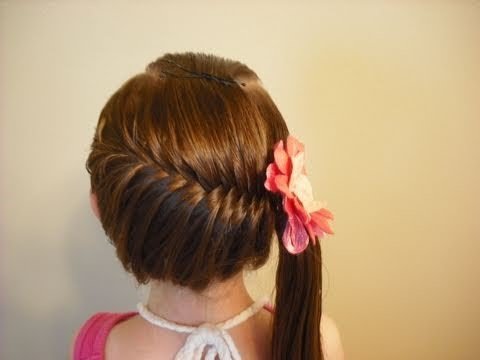
But braiding our hair can be a bit difficult for those people who do not have experience performing this type of punishment. In fact, in general we can make several types of braids regardless of the type of hair we have or even without our hair is a little short. One of the types of braids that are setting trends are the famous side braids. This type of braids have the appearance of a common braid on one side, while on the other it gives the appearance of being a French braid or a sewn braid.
But if you think that performing this type of hairstyle can be a bit difficult for you, then do not stay behind, be part of this incredible trend and learn how to make braids on the side. Bring the best brush you have, a little hair spray or styling cream and you will see how in a few minutes you will have an incredible hairstyle that will make you look extremely spectacular and charming.
What do you need to make side braids?
- Comb and brush
- Styling cream, silica or hair oils
- Leagues
Instructions for making side braids
- We must start by detangling all our hair very well starting at the ends and advancing little by little to the root. We must be careful when we brush or punish our hair because if we do not do it properly instead of removing the knots, we can generate more knots or break our hair and break it. Also avoid combing your hair while it’s wet. The difference between wet hair and wet hair is that when our hair has an excess of water, it is much more fragile and much weaker than when it is dry. Therefore when we have our hair being wet it will end up breaking.
- Hair is easier to handle when it has extra hydration provided by pine creams or specialized hair hydration products. For a braid to look beautiful it has to be done with detangled and healthy hair, so we recommend that before doing this hairstyle, wash your hair with conditioner and hydrate it with moisturizer for hair or essential oils such as coconut, almond, olive or silica. It is not necessary to add much product, it is simply enough that our hair is detangled and easy to handle.
- The next thing we have to do is select the right amount of hair that we want to use to make the braid on the side. It is always a good option to practice with the help of a friend or other person whom we can comb before doing the hairstyle on ourselves, but in case we can not do it this way, then the appropriate thing is to try to comb our hair in a controlled way. For this we will need to select a part of our hair, preferably near the edge of our face.
- We will start by dividing three small strands at the top. We will call these strands, strands 1, 2 and 3. We do this to be able to differentiate them to the now in which we are going to braid our hair. We will place strand 3 under strand 2, and strand 1 on strand 3, then pass strand 2 over strand 1. From this moment, we will take a portion of hair from the direction in which strand 1 is located, and place it on strand 3. After this we will pass strand 1 over strand 3, and now to strand 2 and add a portion of the hair from the same direction in which we add the portion of strand 3. So we will continue with this technique until we make the braid of the length that we want.
- As you will see it is simpler than it seems, you just need to try to join portions of hair to the strands always when we are in the same direction. In this way we will form the braid on the side and we can make all the hairstyles we want. If we joined parts of hair on both sides, then it would be a bilateral sewn braid and not a side braid. These pieces are perfect to adorn our forehead or our never, because we can allow the braid to be in the place we want.
- It is recommended that while we are braiding the hair, we unravel the strands so that it is easier to make and undo the braid as we need it. It should also be noted that it is preferable to take proportionally equal parts of hair because if we do not do it this way, it could end up ruining the hairstyle or the press could be deformed. While it is not necessary to separate strand by strand, since this could be quite exhausting for us when combing, it would be advisable to calculate the amount of hair we will be using while we do the styling.
- We can also make the braid on the side upside down, this way the braid will be seen outside and inside. To do this what we must do is follow the following method; when making the braid, we will start with the previous procedure but in reverse, that is, we will grab a strand from the top and divide it into 3 parts. Each part will be called strand 1, 2 and 3 respectively, starting from left to right. We will put strand 3 under strand 2 and then strand 1 under strand 3 and on strand 2, at this point, we will take some hair from the side and attach it to strand 1 before crossing this under strand 2 and on strand 3.
- Now we will take a little of the hair on the same side where we join the hair with strand 1 and we will join it with strand 2 before crossing it under strand 1 and on strand 3. We will repeat this same step with strand 3, we will take hair from the side before joining it to the braid under strand 1 and on strand 2. So every time the strands of hair are directed to the side we will take a portion of hair before joining the strands with the rest of the braid. In this way we will be able to make a side braid that can be observed from the outside. To finish we just have to put a garter at the end of the braid that will prevent it from falling apart.
Tips for making side braids
Now you can try doing several hairstyles whenever you want. If you want to see more articles on how to make braids do not forget to visit this site and browse here to find out how it is done.