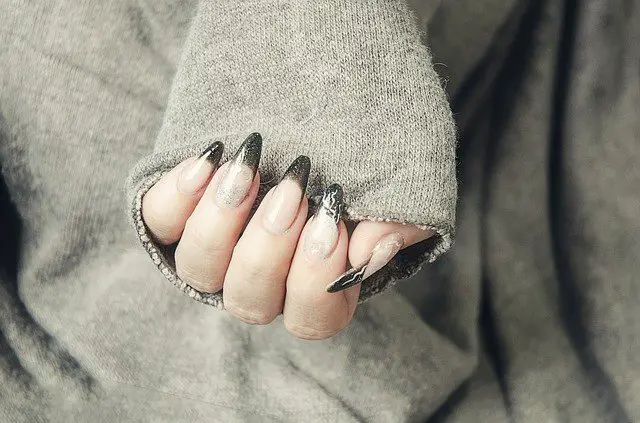
As the days go by, the options to dress and put on makeup multiply, and with our nails it was not going to be different. You will have noticed that, in addition to the French manicure and the plain colors of a lifetime, a lot of new creations have appeared that allow us to show off unique and very original nails. The geometric figures, the gradients, the polka dots, the elaborate drawings, the letters… the options are varied and which one more surprising, and the results are 100% unique.
In this case we are going to describe how to decorate nails with water. With this method we will be able to obtain those designs so psychedelic and unique that sometimes we have been looking down the street, without having to worry about our pulse when working with the brush since we do not even have to paint our nails. We will simply create a design in the water and it will adhere to our nail when contacting it. A simple job with a really amazing result!
What do you need to decorate nails with water?
- Manicure set (scissors, pliers, lime, and concealment remover).
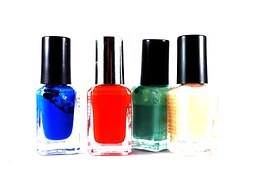
- Colored nail polishes.
- Transparent nail polish.
- Nail hardener.
- A glass.
- Toothpicks or orange trees.
- Water.
- Adhesive tape.
- Cotton buds.
- Nail polish remover.
Instructions for decorating nails with water
Decorating nails with water is a task that takes some time to perform but, as we have already indicated, it is very easy and it is pleasant and not monotonous, because the results obtained are different every time, even in each nail.
- This step is optional. Prepare your nails. Before decorating your nails with water it would be appropriate that you have them perfectly cut and filed so that the result looks splendid.
- Soak your hands in hot water to soften your nails and skins, so it will be easier to work on them.
- Dry them.
- Remove the skins that protrude around your nail. Do not stretch them, just use pliers that allow you to cut them flush with your finger.
- If you have the cuticle very far ahead you can retract it using a quitacutículas or an orange stick. Do not remove them, just retract it towards the finger because the cuticle fulfills an important function.
- Trim your nails giving them the shape you want. We recommend the rounded shape if you work a lot with your hands since the square shape will go away
- filing little by little due to wear.
- File your nails so that there are no chips left.
- Wash your hands to remove any remaining nail remains.
- Next, apply a layer of very fine hardener, to avoid the agglomeration of enamel on the nail, because the more enamel you apply it will cost more to dry and the result will become more irregular. With the hardener you protect your nails and it will also help you to fix the design better.
- Let the hardener dry completely.
- Apply a base layer of white or any other color that you think will fit well with the enamels you choose to decorate nails with water.
- Again, let this layer dry completely.
- Choose the enamels of the colors you are going to use. The most aesthetic option is to choose enamels of the same color, lighter and darker. Another option is to use complementary colors, as they will give a more radical, more vivid appearance, with a chromatic composition very pleasant to the human eye.
- Prepare a glass with cold water, well filled to the top. We use cold water so that the enamel takes longer to solidify and thus allow us to have more time to work with it.
- Cover your fingers, around the nail, with adhesive tape, so that they do not get stained with enamel and you have to remove the enamel stains from your nails.
- Put a few drops of nail polish remover in the water so that when you add the enamels they are diluted well.
- Drop a drop of enamel in the water, you will see how it spreads. This first color will be the one that is more to the outside, so you must choose it depending on the effect you want to achieve.
- Drop another drop of the enamel of the color you want to be seen inside the first one.
- Repeat with as many enamels as you want.
- Use a toothpick to give some shape to the set or simply trace the edge of a drawing.
- If you pass the toothpick once through the center of the circle, from top to bottom, you will see that a heart-like shape appears.
- If you make lines from the center to the outside you will get an explosion or star effect.
- If you move the toothpick in a zig-zag, the effect will be similar.
- Ideally, as you practice, you should start making new drawings.
- Dip your finger upside down in the glass of water. Make sure the nail passes over the enamels. It is not necessary to put it in great depth because the enamel is all up. What you do have to make sure of is that you have covered the entire nail because if you put it back in, the drawing of your nail will be mixed with the one that is still in the glass.
- The set will have been completely printed on the nail.
- Remove with an orange stick the enamel that has not been adhered so that when you take your finger out you do not take it.
- Take your finger out of the water.
- It’s time to remove the adhesive tape that you had used as a protector.
- Repeat the process. Renew the water so that it is always clean, pour the enamel drops, submerge all the fingers and remove the adhesive tape as you finish.
- Let your nails dry.
- When you have finished decorating your nails, give them a last layer of shine so that the result is more durable and also the design looks brighter.
- If even using the adhesive tape, at the end you see that there are traces of enamel on your fingers, wet in nail polish remover as many cotton buds as you need and pass them through the enamel. Thus it will disappear definitively.


