For a while now, and more and more, nail decoration has become really elaborate, coming to see really incredible designs. You walk down the street and you don’t see two designs the same, they are all different and tremendously creative. A very effective and economical option to wear these designs is to decorate the nails using a homemade trick: adhesive tape. If you want to learn how to decorate nails with adhesive tape keep reading, because it is a very easy and pleasant task to perform.
What do you need to decorate nails with adhesive tape?
- Manicure set (scissors, pliers, lime, and concealment remover).
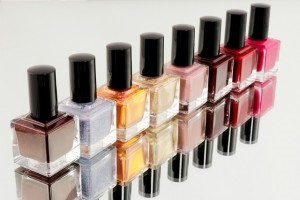
- Colored nail polishes.
- Transparent nail polish.
- Nail hardener.
- Adhesive tape.
Instructions for decorating nails with adhesive tape
- This step is optional. Prepare your nails. Before painting your nails using adhesive tape it is important that you have them perfectly cut and filed.
- Put your hands in hot water so that both nails and skins soften.
- Dry them.
- Remove the skins that protrude around your nail. Do not stretch them, use pliers to cut them flush with your finger.
- If you have the cuticle very far ahead you can retract it using a quitacutículas or an orange stick. It is important that you do not remove them but only retract them towards your finger.
- Cut your nails the way you want. We recommend the rounded shape if you work a lot with your hands since the square shape will be filed little by little due to wear.
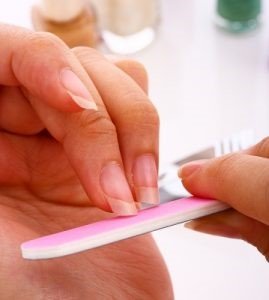
- File your nails so that there are no chips left.
- Wash your hands to remove any remaining nail remains.
- The next thing you need to do is give a layer of hardener. This should be as thin as possible since then you will have to give several layers of enamel and it would be too product for the nails. With the hardener you protect your nails and it will also help you to fix the design better.
- Let it dry COMPLETELY. If it does not dry well when applying the enamel everything will be mixed.
- At this point you must be clear about what design you want to make and what colors.
- Choose a color and give yourself a layer of enamel on your nails. This color should be lighter so that the other can cover it. Note that this will be seen later in the shape of the adhesive tape. If you place a strip of tape, the line will look this color and the rest of the nail another color that you apply later. It is important not to make mistakes and put the colors upside down.
- Let your nails dry.
- Cut and prepare the adhesive tape according to the model you have chosen.
- Fine lines: You can make them in two ways. The first is to cut thin pieces of tape (as thin as you want the line) and glue them. The lines will look the color you have painted underneath. The second is to use thicker tape and glue two pieces leaving a separation in between. This separation will be the size of the line. To create each line we use two pieces of tape. In this case the line will not be seen of the color that we have already applied but of the one that we will apply later.
- Squares: You just have to cut ribbons of the same thickness and size and glue them at right angles, forming a kind of network with the tape. There will be some squares of the color we have used, but the final appearance is not a chessboard but a building with windows.
- Arrows: Cut pieces of tape of the same thickness and stick them at right angles, in the shape of an “L”.
- Triangles: Form a triangle with three strips of equal thickness, leaving the triangle inside.
- With the nails completely dry, glue the adhesive tapes forming the desired design, the combinations are endless: simple, thin and thick lines, lines forming drawings, such as flashes, chessboard, polka dots, circles, triangles, leopard print, arrows …
- Give yourself a layer of the darker-colored enamel, covering the entire nail, including the tape.
- Let dry as long as possible.
- Carefully remove the adhesive. The most advisable thing is that you use tweezers to help you as they will give you greater precision.
- Finally give a layer of transparent enamel to your nails. The design will last longer and also look brighter.
- When you’re done and your nails are completely dry, wash your hands so that the leftover enamel (the one that stays on your fingers) disappears. You can also moisten your hands and push it with an orange stick.
Tips for decorating nails with adhesive tape
- If you use a very dark color, let a few millimeters of tape protrude out of the nail to know where it is, since with the dark enamel it is possible that it is completely covered and you do not see it.
- Innovate and create more difficult designs. For this you will need to give more layers of different colors so we advise that these are as thin as possible so that the product can dry and not mix or cake.
- Use quality products that offer very good coverage to avoid giving unnecessary layers.
- Never try to remove enamel from your fingers with an enamel remover; by taking the soaked cotton you will destroy the design of your nails.


